Montagehinweise und Zusatzinformationen finden Sie auf unserer Webseite unter Produktbesonderheiten der entsprechenden Artikelnummer.
MONTAGE-ANLEITUNG:
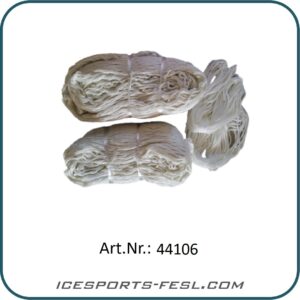
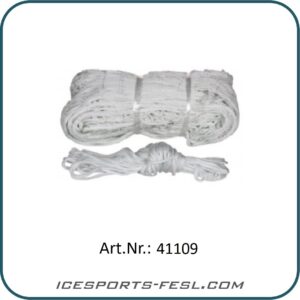
- Das Tornetz muss an der Stahl-Tor- Konstruktion frei hängen und wird so eingehängt, dass zwei Nähte am Netz die obere hintere Versteifung der Torkonstruktion kopieren
- Mit Hilfe der beiliegenden Leine wird das Netz an die Torkonstruktion angebunden. Die mitgelieferte Leine wird mittig in zwei Hälften umgelegt und so fortgesetzt, dass die Mitte des Netzoberteiles mit der Leine an die Mitte des oberen Torrahmens – „der Querstange“ angebunden wird, dann wird es mit dem Anbinden beidseitig, d.h. nach rechts und links gleichmäßig fortgesetzt. Die Nähte kopieren am Netz die obere Versteifung des Torrahmens und enden in den unteren Torecke an der Verbindungsstelle des Torpfostens und der unteren hinteren Torversteifung
- Das Anbinden beenden wir am unteren Bogen des Tores in der Mitte, d.h. an Stelle des hinteren senkrechten Mittepfostens
- Die Netzmaschen sollten reihenweise und regelmäßig vom Oberteil des hinteren senkrechten Pfostens auf untere Torversteifung auslaufen
- Das Netz kann an der Konstruktion angepasst werden – durch Anbinden von 2 Maschen zum unteren hinteren Torbogen verkleinert werden
WICHTIG: Das Netz darf an der Torkonstruktion nicht straff sein !
Durch Einhaltung der angegebenen Vorgangsweise bei Netzaufhängung wird die Lebensdauer des Netzes an der Torkonstruktion erheblich verlängert.
ZUSATZINFORMATION:
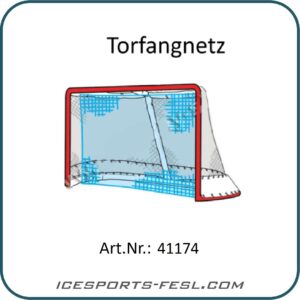
Um die Lebensdauer des Tornetzes zu verlängern, kann es durch ein Tor-Fangnetz ergänzt werden. (optional erhältlich Artikel Nummer 41173 und 41174 verschiedene Ausführungen)
IF-PRO Ice Hockey Goal Net Training MK72440 (Set of 2)
249,99 €
Includes 19% VAT
plus shipping
Additional duties, taxes and fees may apply for deliveries to non-EU countries.
INSTALLATION INSTRUCTIONS:
– The goal net must hang freely from the steel goal frame and is attached so that two seams on the net mirror the upper rear reinforcement of the goal frame.
– The net is attached to the goal frame using the cord provided. Fold the supplied rope in half and continue so that the centre of the upper part of the net is tied with the rope to the centre of the upper goal frame – the crossbar. Then continue tying evenly on both sides, i.e. to the right and left. The seams on the net copy the upper reinforcement of the gate frame and end in the lower corner of the gate at the junction of the gate post and the lower rear gate reinforcement.
– We finish tying at the lower arch of the gate in the middle, i.e. at the rear vertical centre post.
– The net meshes should run in rows and regularly from the top of the rear vertical post to the lower gate stiffener.
– The net can be adjusted to the structure – it can be made smaller by attaching 2 meshes to the lower rear gate arch.
.
IMPORTANT: The net must not be taut on the goal frame!
Following the specified procedure for hanging the net will significantly extend the service life of the net on the goal frame.
ADDITIONAL INFORMATION:
To extend the service life of the goal net, it can be supplemented with a goal safety net. (optionally available, item numbers 41173 and 41174, various designs)
.
Available on request 📧 please contact us!
Manufacturer: Sportartikel Ch. Fesl e.K.
Share Product: